Before starting installation process, make sure that the IP address computer name are correct. Now use server manager to add rolls or type “oobe” in the command prompt. Now the following window will appear:
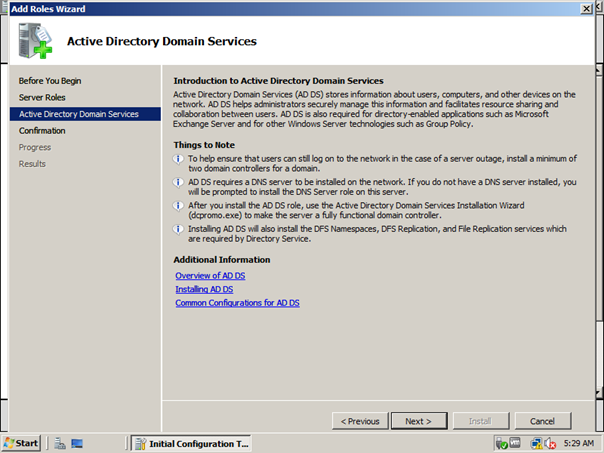
Press add roles and now press next
Select the Active directory Domain Services check box and press next . This tells the server we want to install active directory
Press next
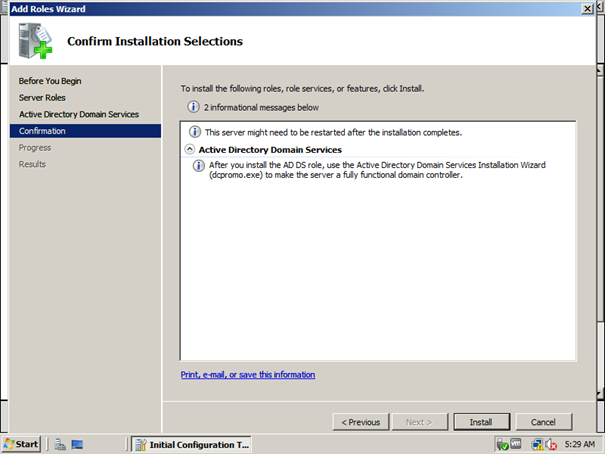
press next
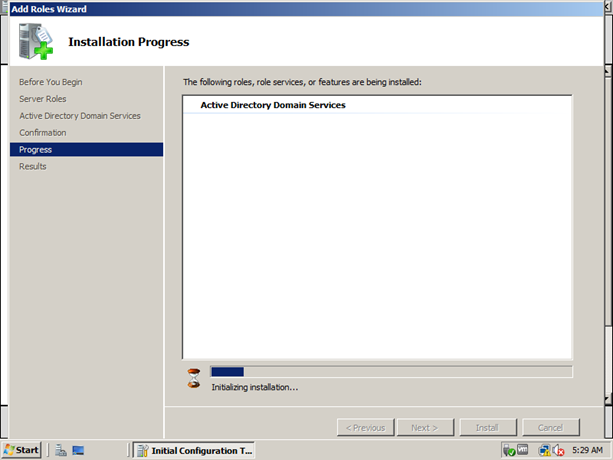
press install
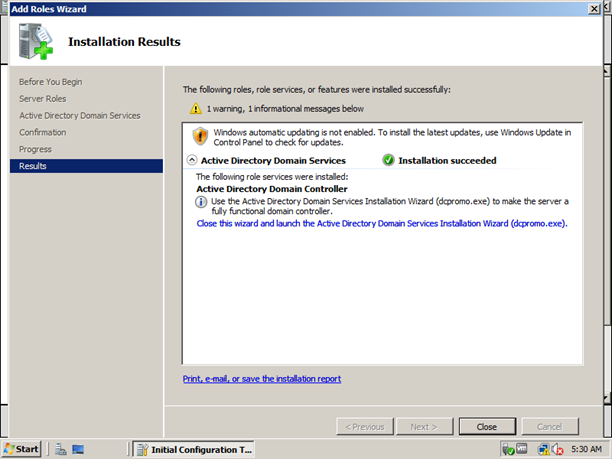
now we may close this wizard, if we close we need to type “dcpromo” on the command prompt and continue installation. Otherwise, press the link in the window highlighted by blue
Note : all the above steps can be done just typing “dcpromo” in the command prompt.
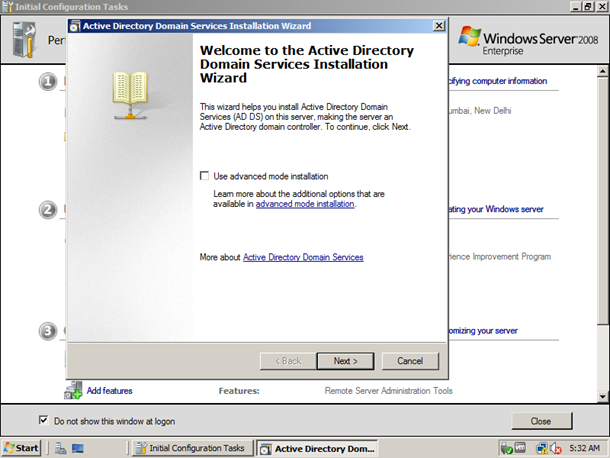
We are using normal mode. So press next. Advanced mode installation can be used to install read only domain controller
Press next if we are not using NT4 computers
Now Select “Create a new domain in a new forest” because we are creating new domain. If we have existing domain and we want to add additional domain controller, add child domain etc. we must use the other option
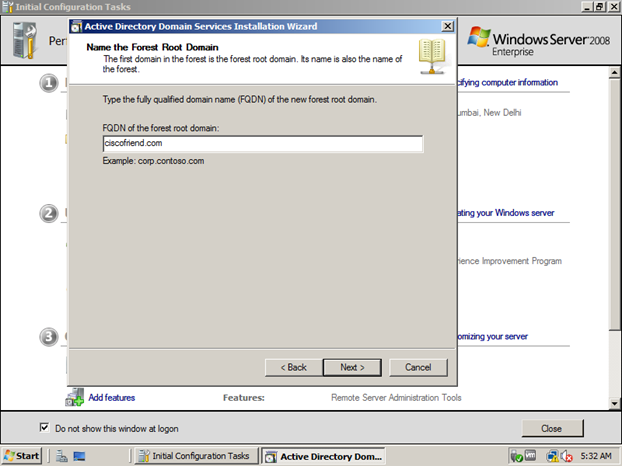
Enter the domain name for our new domain
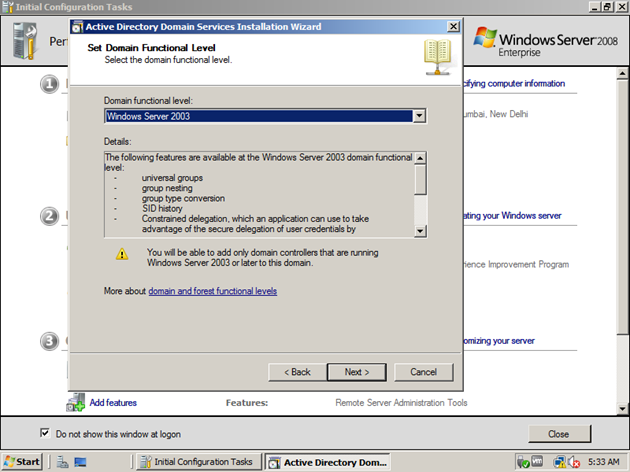
Enter the forest functional level. If forest functional level /domain functional level is higher, more features will be enabled. I will explain about forest and domain functional level in another post.
Enter the domain functional level. As above, higher is better
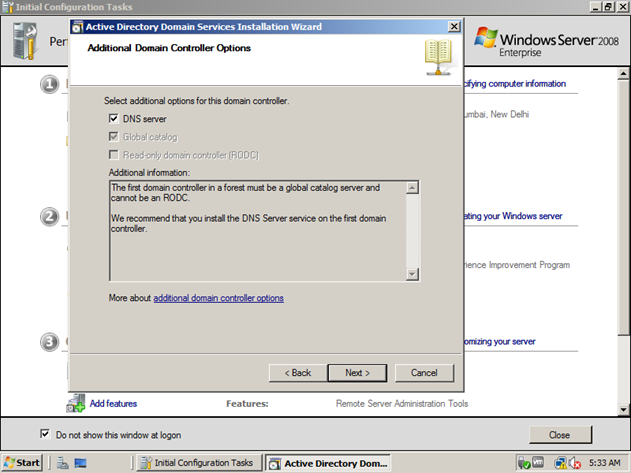
Select DNS because we don’t have another DNS server. If we have another one, we can use that one.
Note: If static IP not given already, it will give the warning. We can also give the IP address here. if error occurs again, that means you didn’t given IPv6 address. To solve this problem, either give IPv6 address or disable IPv6 addressing by removing check mark in the configuration window of Network card
Press yes and next
Press next if we don’t want to change the location of active directory files. NTDS is the active directory database
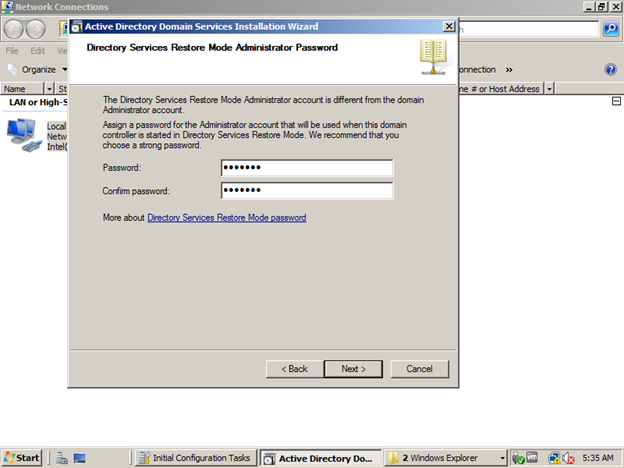
Give the password to restore active directory if any problem occurs and press next
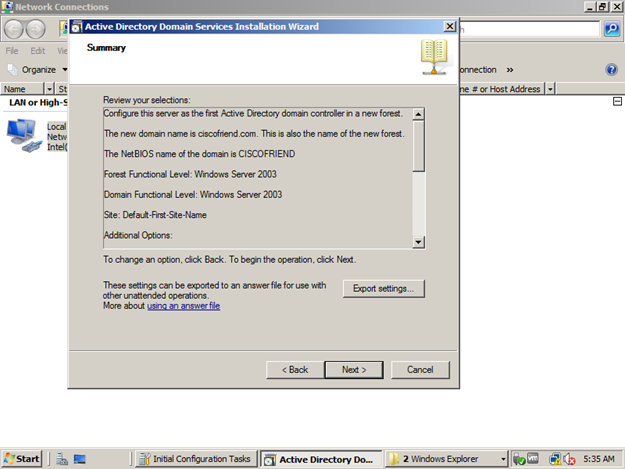
This window gives the summary of the answer we already given. If we want, we can press the export button to save the answer file for future installation or command line installation
Now active directory installation starts and tick the check box reboot on completion
After that reboot, we can see the role is installed in server manager. Also check the computer properties for details








No comments:
Post a Comment